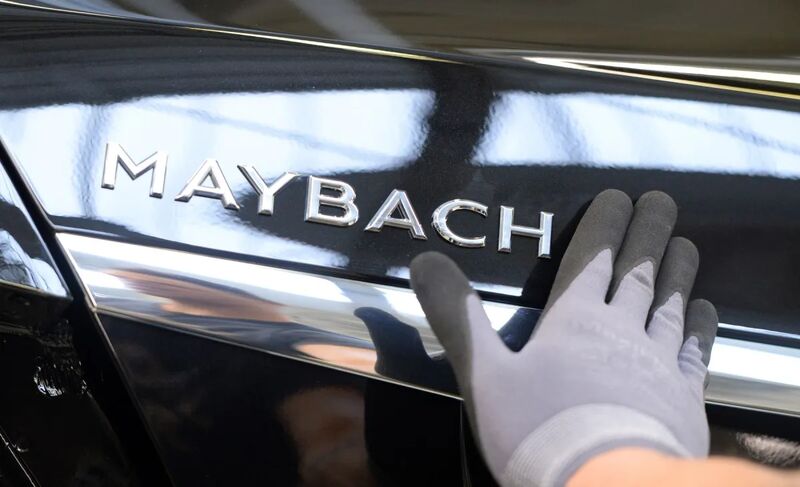
A Guide to Installing New Badges on Your Car
Due to popular demand, here is our guide how to install professionally new badges on your car.
Adding new badges to your car can be a fun and personalized way to enhance its appearance and make a unique statement on the road. Whether you're looking to replace old badges, upgrade to a sportier emblem, or simply add a touch of customization, installing new badges is a straightforward process that you can easily do yourself. In this guide, we'll walk you through the steps to ensure a smooth and professional-looking installation.
Materials Needed:
New badges/emblems
Cleaning supplies (soap, water, and microfiber cloth)
Adhesive remover (optional)
Isopropyl alcohol
Fishing line or dental floss
Heat gun or hairdryer
Plastic pry tools
Automotive-grade adhesive or double-sided tape
Measuring tape or ruler
Painter's tape (optional)
Step 1: Gather Materials and Prepare the Work Area
Before starting the installation process, make sure you have all the necessary materials and tools on hand. Choose a well-lit and clean workspace to avoid any dust or debris interfering with the adhesion process.
Step 2: Remove Old Badges
If you're replacing existing badges, start by removing them. Use a plastic pry tool to gently lift the edges of the badges. If the badges are glued on, use a heat gun or hairdryer to warm the adhesive, making it easier to remove. Use fishing line or dental floss to cut through any remaining adhesive. Once the badges are off, clean the area thoroughly with soap and water.
Step 3: Clean and Prep the Surface
Wipe down the area where you'll be placing the new badges with isopropyl alcohol to ensure a clean, oil-free surface. If there's any residue from the old adhesive, you can use an adhesive remover to clean it off.
Step 4: Measure and Align
Measure the dimensions of the new badges and use painter's tape to mark the desired placement on your car. This step helps ensure proper alignment before permanent attachment.
Step 5: Heat the Adhesive
Before applying the new badges, use a heat gun or hairdryer to warm up the adhesive on the back. This makes the adhesive more pliable and enhances its bonding strength.
Step 6: Apply Adhesive
If your new badges don't come with pre-applied adhesive, use automotive-grade adhesive or double-sided tape. Apply it evenly to the back of the badge, ensuring full coverage.
Step 7: Attach the New Badges
Carefully position the new badges on the marked areas, aligning them according to your measurements. Press firmly to ensure a secure bond. Hold the badges in place for a few minutes to allow the adhesive to set.
Step 8: Final Touches
After the adhesive has fully set, remove any painter's tape and wipe down the badges and surrounding area with a clean, dry microfiber cloth to remove fingerprints or smudges.
Conclusion:
Installing new badges on your car is a satisfying and straightforward DIY project that allows you to personalize your vehicle. By following these steps and taking your time, you can achieve a professional-looking result that enhances the aesthetic appeal of your car. Enjoy the process and the refreshed appearance of your vehicle with its new badges.